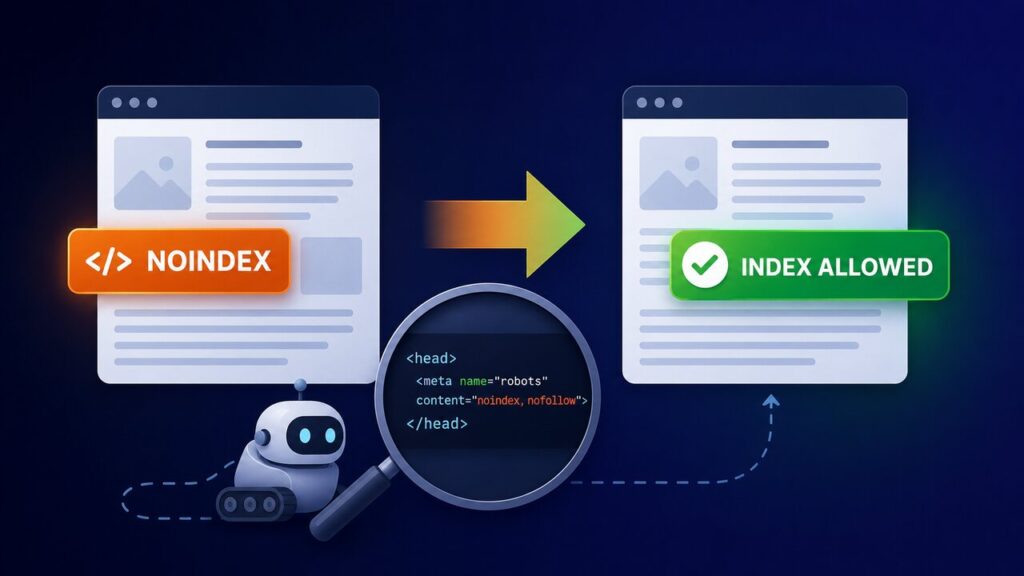
Quick answer: “Excluded by ‘noindex’ tag” means Google found a noindex directive in the page’s HTML or HTTP response. If the URL is intentionally private, temporary, low-value, or not meant for search, no action is needed. If the page should appear in Google, find the source of the directive, remove it, keep the URL crawlable, confirm the live page no longer returns noindex, and then use URL Inspection to request a recrawl.
What this Search Console status means
Google crawled the URL but did not add it to the index because the page supplied a robots instruction such as:
<meta name="robots" content="noindex, follow">The same instruction can also arrive through an HTTP response header:
X-Robots-Tag: noindexThis is different from “Indexed, though blocked by robots.txt”. A robots.txt rule controls crawling; a noindex directive controls indexing. Google must be able to crawl the URL to see that a removed noindex instruction is gone.
Step 1: Decide whether the URL should be indexed
Open Search Console, go to Indexing → Pages, select Excluded by ‘noindex’ tag, and inspect the affected examples. Do not remove noindex just to reduce the number of excluded pages.
It is usually reasonable to keep noindex on pages such as internal search results, account or checkout screens, staging pages, private resources, and duplicate archives that provide no independent search value. A published troubleshooting guide, product page, service page, or other useful canonical page normally should be indexable when you want it to appear in search.
Step 2: Locate the live noindex directive
Test the exact canonical URL, not an editor preview or a parameter variation. Use Search Console’s URL Inspection tool and choose Test live URL. Then inspect the tested page information and rendered HTML.
Also open the public page in a private browser window and view its source. Search for noindex, name="robots", and name="googlebot". A page-specific Googlebot tag can override a broader robots tag when it is more restrictive.
Because X-Robots-Tag is an HTTP header, it may not appear in page source. Check the response headers with your browser’s Network panel or a header inspection tool. If HTML is indexable but the header says noindex, the directive may be coming from the web server, CDN, security layer, or application code rather than Yoast.
Step 3: Check WordPress Search Engine Visibility
In WordPress, go to Settings → Reading. On a live public site, make sure Discourage search engines from indexing this site is unchecked, then save only if a change is required.
This setting is useful while building a private or staging site, but it is easy to leave enabled after launch. If many unrelated WordPress URLs suddenly show noindex, check this site-wide setting before editing individual posts.
Step 4: Check the individual Yoast SEO setting
Edit the affected post or page and open the Yoast SEO sidebar. Expand Advanced and find Allow search engines to show this content in search results?
- Choose Yes or the indexable default when this specific page should appear in search.
- Leave it set to No when the exclusion is intentional.
Update the page, clear only the relevant page cache if necessary, and retest the public URL. Do not change the canonical URL, slug, or title merely to fix a robots directive.
Step 5: Check Yoast content-type and taxonomy defaults
If every post, page, category, or tag archive of one type is affected, review the corresponding Search appearance settings under Yoast SEO → Settings. A content type can be configured not to appear in search, which applies a noindex rule broadly.
Do not turn every archive indexable by default. First confirm that the affected archive offers unique navigation or useful content rather than a thin duplicate list. Site-wide changes should match the purpose of that content type.
Step 6: Rule out another plugin, theme, or server header
If WordPress and Yoast both indicate that the page should be indexable but the live response still contains noindex, check for:
- a second SEO plugin outputting another robots tag;
- a maintenance, coming-soon, membership, or staging feature;
- theme code adding a robots meta tag;
- a server, CDN, or security rule adding
X-Robots-Tag: noindex; - a cached version created before the setting was corrected.
Use the live HTML and response headers to identify the layer responsible before disabling anything. Removing plugins or broad cache/CDN settings without evidence can create unrelated problems.
Step 7: Keep the page crawlable
Do not add a robots.txt block as a way to remove noindex. If Google cannot crawl the URL, it may not see that the directive has changed. Remove an accidental noindex while allowing Googlebot to fetch the page.
If you are troubleshooting both crawl and index signals, follow the checks in the robots.txt troubleshooting guide before requesting another crawl.
Step 8: Align the sitemap, canonical, and internal links
After the page is indexable, confirm that it has a self-referencing canonical unless a different canonical is intentionally required. Yoast normally removes noindexed content from its XML sitemap. Once the page becomes indexable again, verify that its canonical URL appears in the relevant sitemap.
If the sitemap itself is not being read correctly, use the Yoast sitemap “Couldn’t fetch” checklist. Add at least one contextual internal link from a related, crawlable page so the URL is not isolated.
Step 9: Request indexing after the fix
Return to URL Inspection and run Test live URL. Only after the live test shows that indexing is allowed should you select Request indexing. A request does not guarantee indexing or speed up every recrawl; it tells Google that the page is ready to be reconsidered.
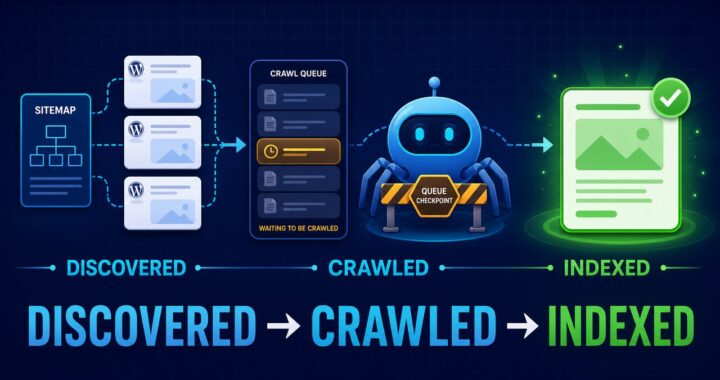
If the page is crawlable and indexable but remains excluded for another reason, diagnose the new status instead. Use the Crawled – currently not indexed guide when Google has fetched the page without selecting it, or the Discovered – currently not indexed guide when Google knows the URL but has not crawled it yet.
How to verify the repair
- Load the public canonical URL while signed out of WordPress.
- Confirm the HTTP response is successful and has no
X-Robots-Tag: noindex. - View source and confirm no robots or Googlebot meta tag contains
noindex. - Confirm robots.txt allows Google to crawl the URL.
- Confirm the canonical points to the intended indexable URL.
- Confirm the URL appears in the appropriate XML sitemap when it should be indexed.
- Run Search Console’s live URL test and confirm indexing is allowed.
- Request indexing once, then wait for Google to recrawl and update the report.
Search Console reports are not real-time. The old exclusion can remain visible until Google processes the new crawl. Use the live test and the actual page response as the immediate technical evidence.
Common mistakes to avoid
- Removing every noindex: some exclusions are deliberate and healthy.
- Blocking the URL in robots.txt: Google then cannot reliably see the changed directive.
- Checking only page source: an HTTP
X-Robots-Tagcan also block indexing. - Changing the slug: a robots fix does not require a new URL.
- Requesting indexing before retesting: confirm the live page first.
- Installing another SEO plugin: duplicate robots output can make diagnosis harder.
Primary documentation